Appointment Instructions
There are two types of instructions, patient instructions and scheduler instructions.
Patient Instructions
Patient instructions include anything the patient should know or do regarding the appointment. They are included in the Patient Reminder Letter which can be generated from the patient Appointments tab or from the Reports menu. Patient instructions that are assigned to an appointment will pop up automatically whenever a patient appointment is edited, which serves to provide users with necessary information regarding the patient’s appointment.
As part of their definition, patient instructions can also be linked to one or more Appointment Types / Procedures. As Appointment Types with linked patient instructions are assigned to an appointment, the associated instructions are assigned to the appointment automatically, which adds to scheduling efficiency in both time and consistency.
Consider a First Visit Appointment Type as an example. Rather than adding instructions that tell the patient what information to bring to each appointment, one could simply link the appropriate instruction to the First Visit Appointment Type so that it is automatically associated with an appointment each time the Appointment Type is scheduled. In this manner, all new patients are provided the same information as to what they should bring to the appointment, the time they should arrive, etc.
Scheduler Instructions
Scheduler instructions can include important information the scheduler should be aware of or information they should collect from the patient before scheduling a specific Appointment Type / Procedure. Scheduler instructions are not included in the Patient Reminder Letter. Scheduler instructions that are assigned to an Appointment Type will display in a popup window when a scheduler performs any of the following tasks.
- Selects an Appointment Type associated with scheduler instructions from the Edit Appointment screen.
- Right clicks over a scheduling grid Hold for an Appointment Type associated with scheduler instructions then selects Make. (The Apply Appointment Type from Hold domain setting must be configured for the Scheduler Instructions to display.)
- Searches for and selects an Appointment Type associated with scheduler instructions on the Appointment Type Find screen.
- Searches for and selects a Treatment Protocol that includes an Appointment Type associated with scheduler instructions from the Treatment Protocol Find screen.
Attaching Patient Instructions to Appointments
- Do one of the following:
- Schedule a new appointment or
- Edit an existing appointment
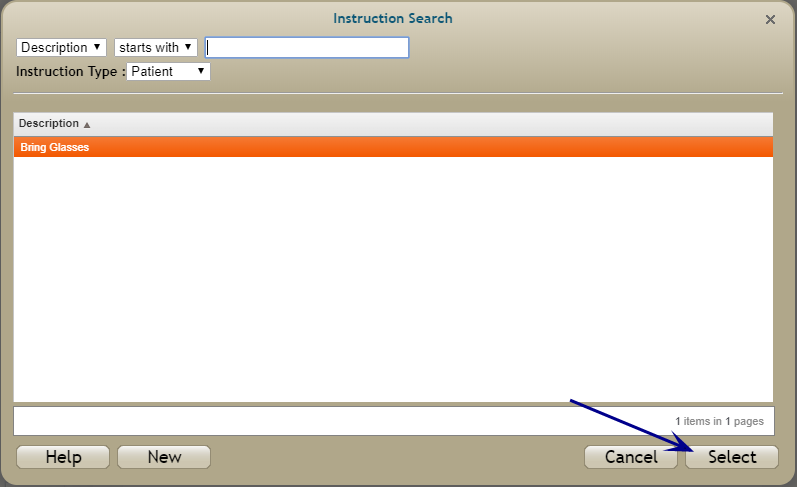
- Click the Instructions link to open the Instruction Search screen.
- Locate and select the desired instruction.
- Repeat steps 2–3 as necessary to assign additional instructions.
- Complete the remaining appointment details then click Continue to save the appointment. Alternatively, click Cancel to close the Edit Appointment screen without saving your changes.
If your organization or domain does not have the Use the Edit Appointment Screen when Making Appointments option turned on, then simply edit the appointment to which you wish to add scheduling options.
The Edit Appointment screen will appear.


To delete patient instructions from an appointment:
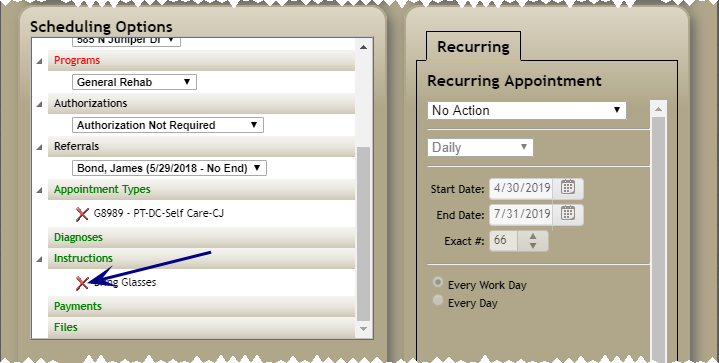
- Click the Delete icon
 next to the appropriate instruction. A confirmation screen will appear.
 - Click OK to continue.
- Click Continue to save the changes to the appointment.


Creating Instructions On-the-Fly
- Complete steps 1–2 from the Attaching Patient Instructions to Appointments section above.
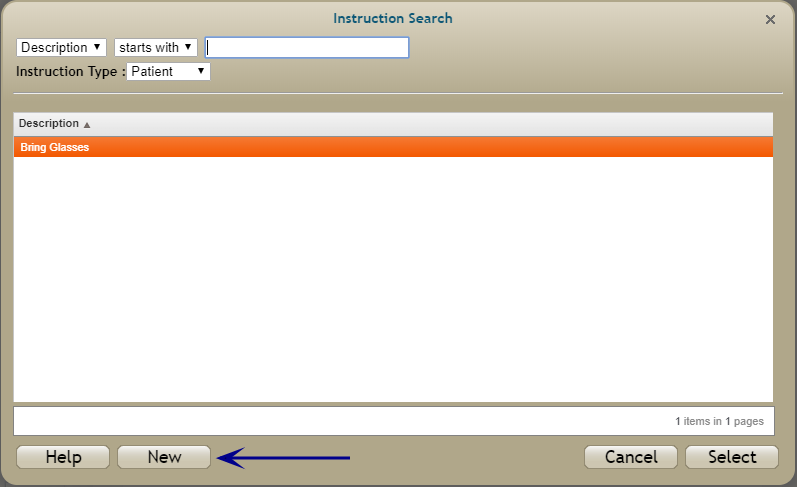
- Click New on the Instruction Search screen.
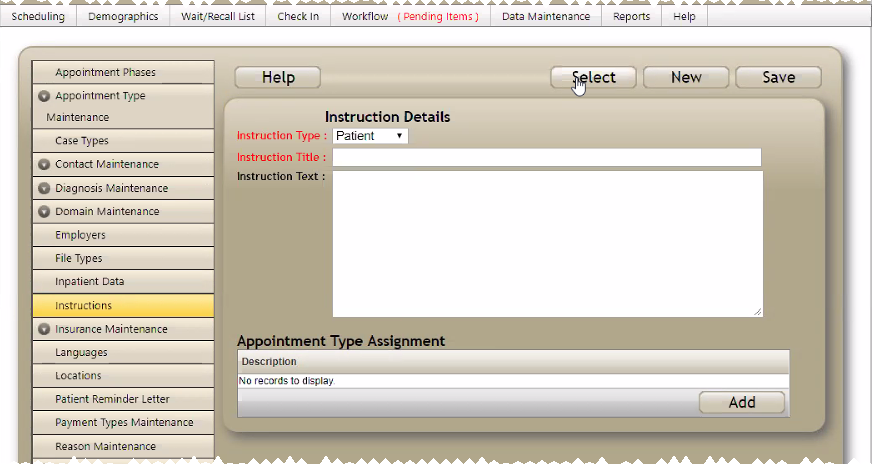
- The Edit Instruction screen will display in a new tab. Select the tab.
- Select an Instruction Type from the drop-down list.
- Enter the Instruction title.
- Enter the Instruction text.
- (Optional) If you want the Instruction to display every time a specific Appointment Type is scheduled, then click the Add button located in the Appointment Type Assignment panel, then search for and select the Appointment Type.
- Select Save.
- Switch back to the tab with the Edit Appointment screen.
- Click the Instructions link again and select the newly created instruction.
- Select Continue to save the appointment.


